Why Musical Bands Need a Stunning Website – IZMHS & Wix Studio Can Help
In today’s digital age, a compelling online presence is essential for musical bands aiming to captivate audiences and establish their brand. A well-designed website serves as the cornerstone of this presence, offering numerous benefits that extend beyond mere aesthetics. This article delves into the importance of a stunning website for musical bands and how IZMHS, in collaboration with Wix Studio, can assist in creating an impactful online platform.
The Digital Landscape of Music
The music industry has undergone a significant transformation with the advent of digital technology. Today, artists have the opportunity to reach global audiences without the traditional barriers that once existed. Streaming platforms, social media, and digital marketing have become integral components of a musician’s toolkit. However, amidst these platforms, having a dedicated website remains crucial. It serves as a centralized hub where fans can access information, music, merchandise, and more, all curated by the band itself.
Benefits of a Dedicated Band Website
Ownership and Control
Unlike social media profiles, a website is a space wholly owned by the band. This ownership ensures that content remains under the band’s control, free from the algorithms and policies of third-party platforms. It allows for the presentation of music, visuals, and narratives in a manner that aligns perfectly with the band’s vision.
Centralized Fan Engagement
A website acts as a central repository for all band-related information. Fans can find tour dates, news updates, discographies, and exclusive content in one place. This centralized approach enhances the fan experience, making it easier for supporters to stay connected and engaged.
Professionalism and Credibility
A well-crafted website conveys professionalism. It signals to industry stakeholders—such as promoters, agents, and media—that the band is serious about its craft. This credibility can open doors to opportunities that might not arise through social media alone.
Monetization Opportunities
Websites offer direct avenues for revenue generation. Bands can sell merchandise, offer exclusive content, and even provide fan club memberships without intermediaries, ensuring that profits go directly to the creators.
Key Features of an Effective Band Website
Responsive Design
In an era where fans access content across various devices, ensuring that a website is mobile-friendly is paramount. A responsive design guarantees that the site functions seamlessly on smartphones, tablets, and desktops, providing a consistent user experience.
Multimedia Integration
Music is an auditory experience, but visuals play a significant role in storytelling. An effective band website integrates high-quality audio, video, and imagery, allowing fans to immerse themselves fully in the band’s world.
E-commerce Capabilities
Offering merchandise directly through the website not only generates revenue but also strengthens the bond between the band and its fans. E-commerce features should be user-friendly, secure, and efficient, providing a seamless shopping experience.
SEO Optimization
To ensure that the website reaches a broad audience, it must be optimized for search engines. Implementing best practices in SEO enhances visibility, driving organic traffic to the site.
Challenges Bands Face Without a Website
Limited Audience Reach
Relying solely on social media can restrict a band’s reach. Algorithms determine visibility, and without a website, bands may miss out on connecting with potential fans who search for them online.
Brand Inconsistency
Social media platforms offer limited customization. A website allows for complete brand expression, ensuring consistency in visuals, messaging, and overall aesthetic.
Revenue Limitations
Without a dedicated platform, bands may find it challenging to monetize their content effectively. A website provides the infrastructure needed to sell products and offer services directly to fans.
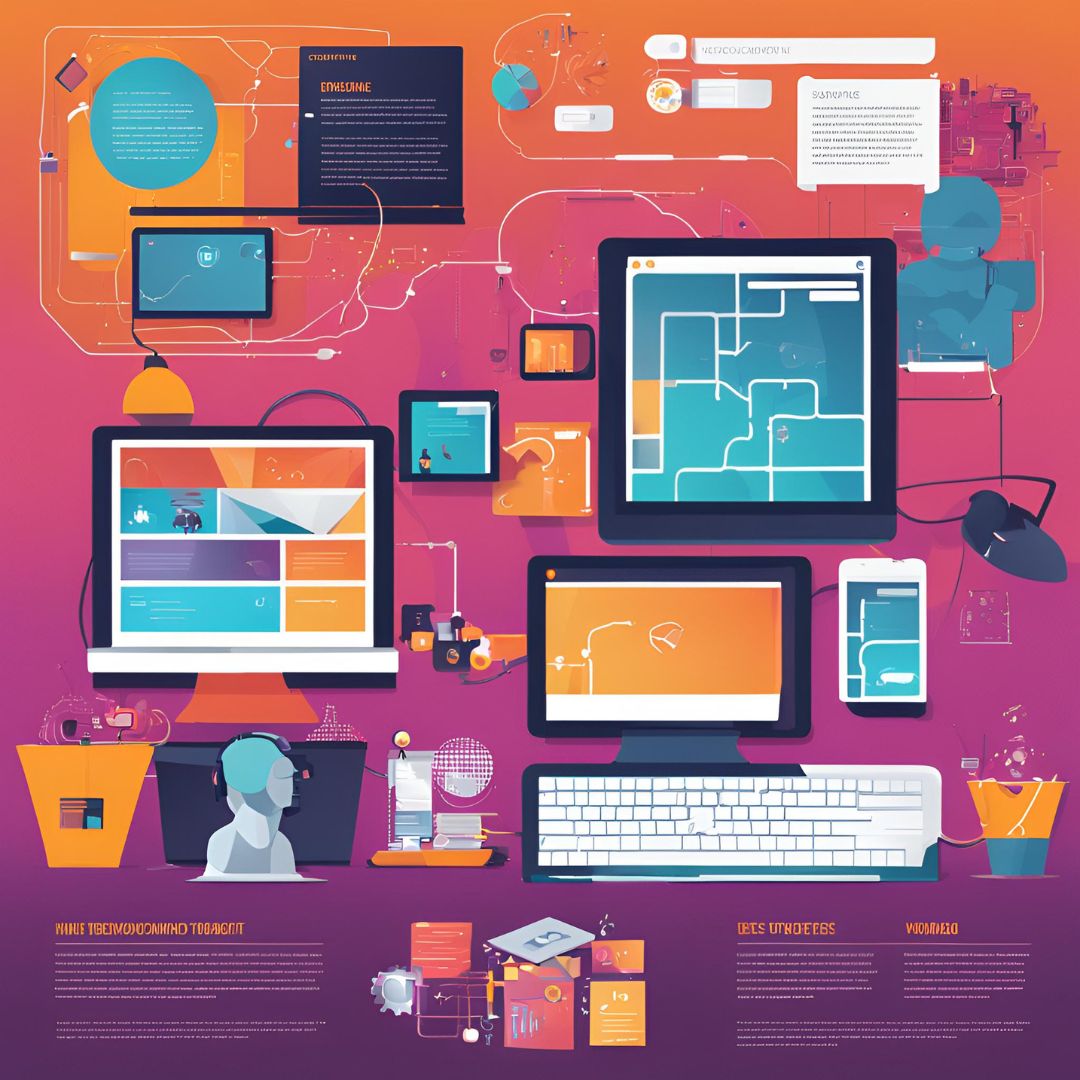
IZMHS: Your Partner in Web Design
Expertise in Wix Studio
IZMHS specializes in creating bespoke websites using Wix Studio. Their team of Velo-certified experts combines creativity with technical proficiency to craft sites that are both visually stunning and highly functional.
Tailored Design Solutions
Understanding that each band has a unique identity, IZMHS offers customized design solutions that reflect the band’s ethos. From color schemes to layout designs, every element is tailored to resonate with the target audience.
SEO and Social Media Optimization
Beyond design, IZMHS provides services in SEO and social media optimization, ensuring that the band’s online presence is robust and far-reaching. By enhancing search engine rankings and optimizing social media profiles, they help bands connect with a wider audience.
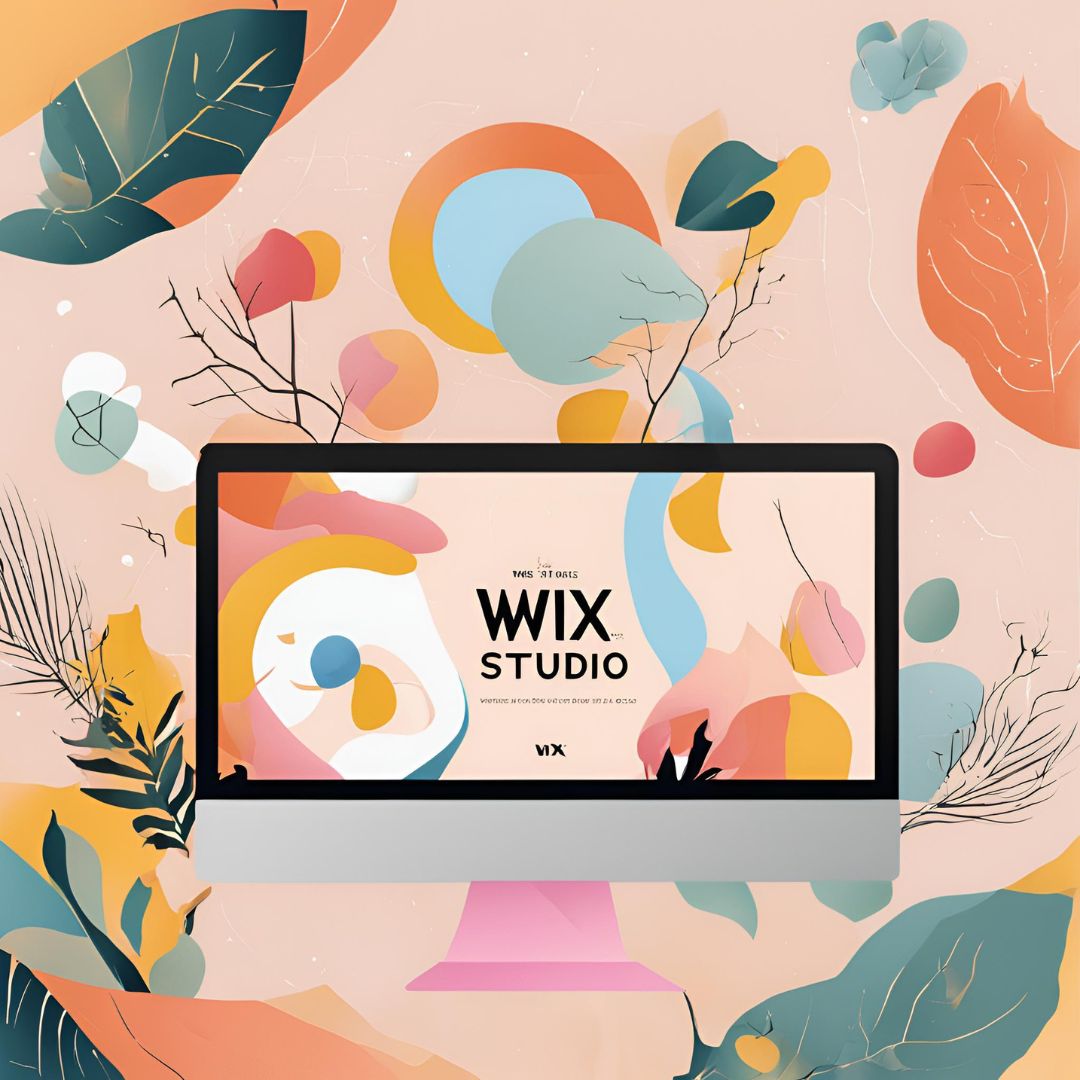
Wix Studio: A Platform for Musicians
User-Friendly Interface
WixStudio offers an intuitive drag-and-drop interface, making it accessible for musicians with no coding experience. Bands can effortlessly build and customize their websites without needing extensive technical knowledge.
Customizable Templates
Wix Studio provides a range of templates designed specifically for musicians. These templates include built-in features like music players, tour schedules, and social media integrations, allowing bands to create an engaging website with minimal effort.
Integrated Music Features
One of Wix Studio’s standout features is its seamless integration with music platforms. Bands can upload tracks directly to their site, embed playlists from Spotify or SoundCloud, and even sell digital downloads. This ensures that fans can listen to and purchase music without leaving the website.
Success Stories: Bands with Impactful Websites
Many successful bands and independent artists have leveraged the power of a well-designed website to grow their careers. Here are some notable examples:
- Coldplay – Their website is a prime example of a visually stunning, interactive platform that keeps fans engaged with tour updates, exclusive content, and a well-designed e-commerce store.
- Arctic Monkeys – Their minimalist yet elegant website reflects their brand identity while providing easy navigation for fans to access news, music, and merchandise.
- Billie Eilish – With a modern and edgy design, her website showcases artistic visuals, behind-the-scenes content, and direct-to-fan merchandise sales.
These artists understand that a professional website enhances their digital footprint, reinforcing their brand while ensuring fans have a seamless online experience.
Steps to Create Your Band’s Website
Define Your Brand Identity
Before designing a website, it’s essential to establish a clear brand identity. This includes selecting a color scheme, logo, and typography that align with your band’s aesthetic and message.
Choose the Right Platform
Selecting a user-friendly platform like Wix Studio ensures that your website remains functional, visually appealing, and easy to manage.
Design with Your Audience in Mind
Your website should cater to your fans. Make navigation simple, ensure mobile compatibility, and include features that enhance the user experience.
Integrate Essential Features
A successful band website should include:
- A homepage with an engaging introduction
- An “About” section detailing the band’s journey
- A media page featuring music videos and photos
- A tour schedule with ticket links
- A merchandise store
- Contact information and social media links
Maintaining and Updating Your Website
A website is not a one-time project—it requires regular updates to remain relevant and engaging.
Regular Content Updates
Frequently updating your website with blog posts, news, and fresh content keeps fans coming back.
Monitoring Performance Metrics
Using analytics tools helps track visitor engagement and identifies areas for improvement.
Engaging with Your Audience
Encourage fans to subscribe to newsletters, participate in contests, and interact with content to create a strong online community.
Conclusion: Get Started with IZMHS Today!
A well-designed website is an indispensable tool for any band looking to establish a strong digital presence. It serves as a hub for fan engagement, branding, and monetization. With Wix Studio’s powerful tools and IZMHS’s expert guidance, musicians can create an impactful online platform that enhances their careers. Visit IZMHS Or Contact us today to start your journey toward a powerful, customized website that drives success.
- WhatsApp: +923201274756
- Website: IZMHS.com
FAQ's
1. Why do bands need a website when social media is available?
Social media is essential, but a website offers full ownership, better brand control, and multiple monetization opportunities without relying on third-party platforms.
2. How much does it cost to build a band website?
Costs vary depending on features, but platforms like Wix Studio offer affordable plans with customizable options.
3. Can I sell merchandise directly through my website?
Yes! A website allows you to set up an online store, sell physical and digital products, and maximize profits.
4. How can I improve my band website’s SEO?
Use relevant keywords, optimize page speed, regularly update content, and ensure mobile responsiveness.
5. Is Wix Studio a good platform for musicians?
Yes! Wix Studio provides music-friendly templates, integrated audio players, and e-commerce solutions tailored for artists.
6. How often should I update my website?
Updating at least once a month with new content, tour dates, and music releases keeps your audience engaged.