What is Google Search Console?
Understanding Google’s Free SEO Monitoring Tool
Google Search Console is a powerful, free tool by Google that shows how your site performs in search. It’s like a health report for your website—spotting errors, highlighting opportunities, and showing which keywords are driving traffic.
Benefits for U.S. Small Businesses and Entrepreneurs
See how many clicks and impressions you’re getting
Identify pages that need improvement
Submit sitemaps for faster indexing
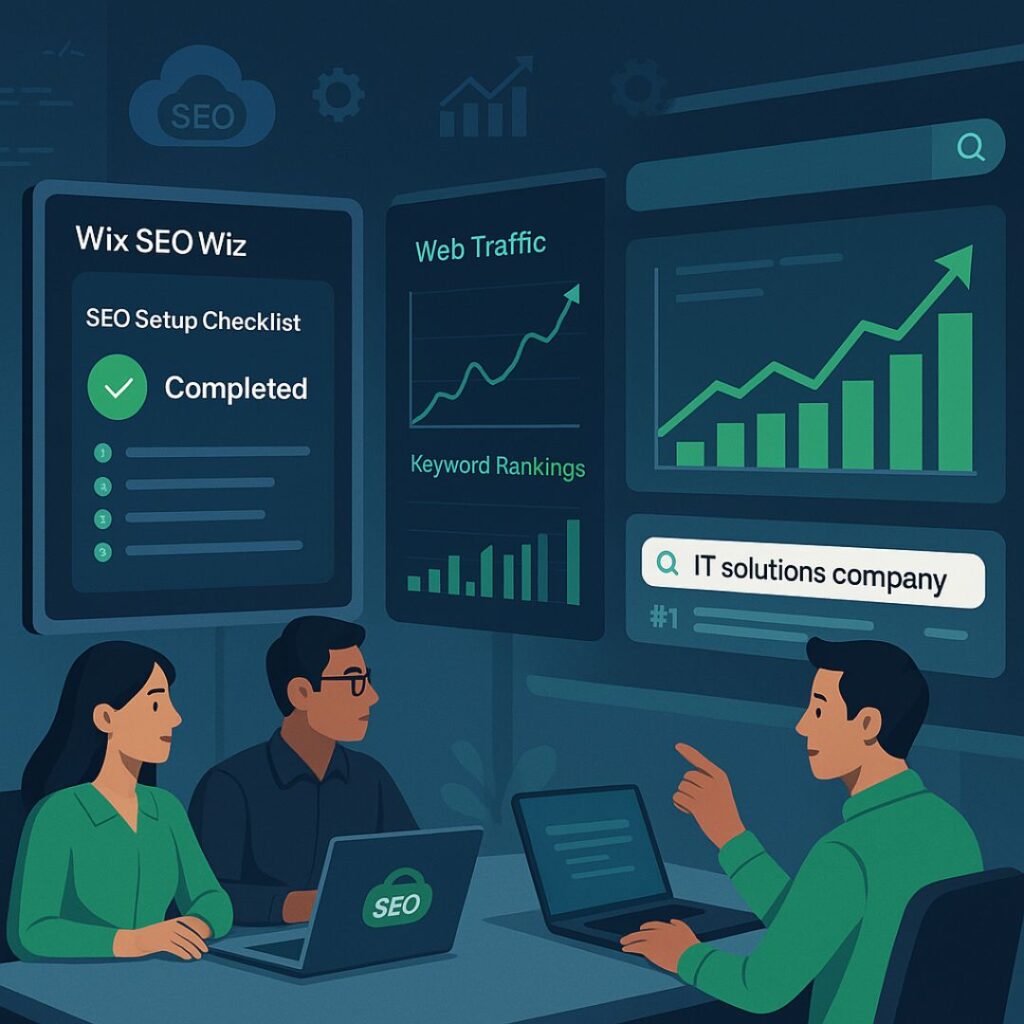
 Why Combining Wix SEO Wiz and Google Search Console is Smart
How They Complement Each Other
Think of Wix SEO Wiz as your SEO coach, and GSC as your data tracker. One guides you to set things up right; the other tells you what’s working—and what’s not.
Real Benefits of Integration for U.S. Sites
Faster indexing of new content
More control over what Google sees
Alerts on SEO errors like broken links or missing metadata
 Step-by-Step Guide to Connecting Wix SEO Wiz with Google Search Console
Verifying Your Website in GSC
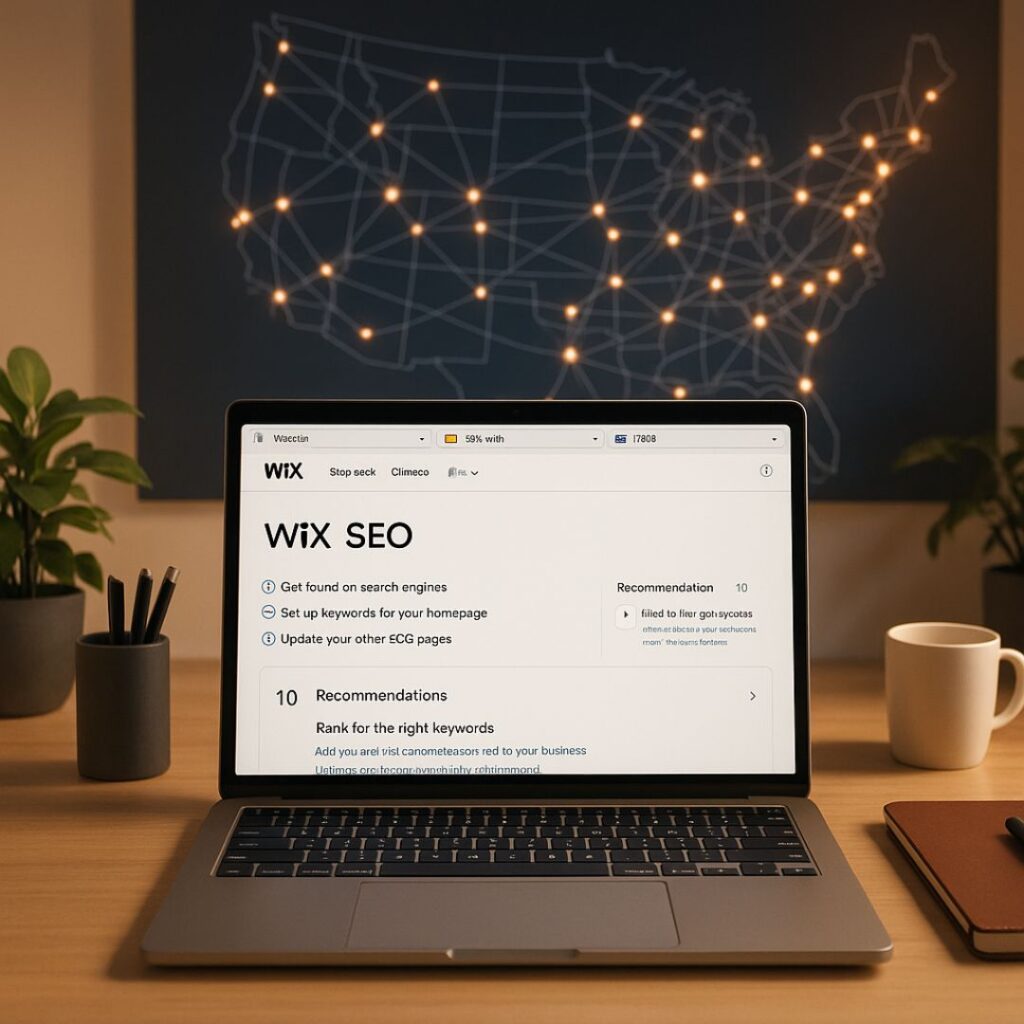
Log into Wix and go to your Dashboard > Marketing & SEO > SEO Tools.
Click on Site Verification and choose Google Search Console.
Copy the verification code from GSC and paste it into Wix.
Syncing the Two Platforms
Once verified, Wix automatically connects and sends sitemap data to GSC.
Manual vs. Automated Process
While Wix automates most of the setup, advanced users might prefer manual sitemap submissions for custom control.
 How This Combo Boosts SEO Performance
Better Indexing and Crawling
Google finds and ranks your content faster when it’s properly indexed—this combo ensures that.
Insightful Keyword and Performance Data
GSC shows what terms people are using to find your site. You can then plug those back into your Wix SEO plan.
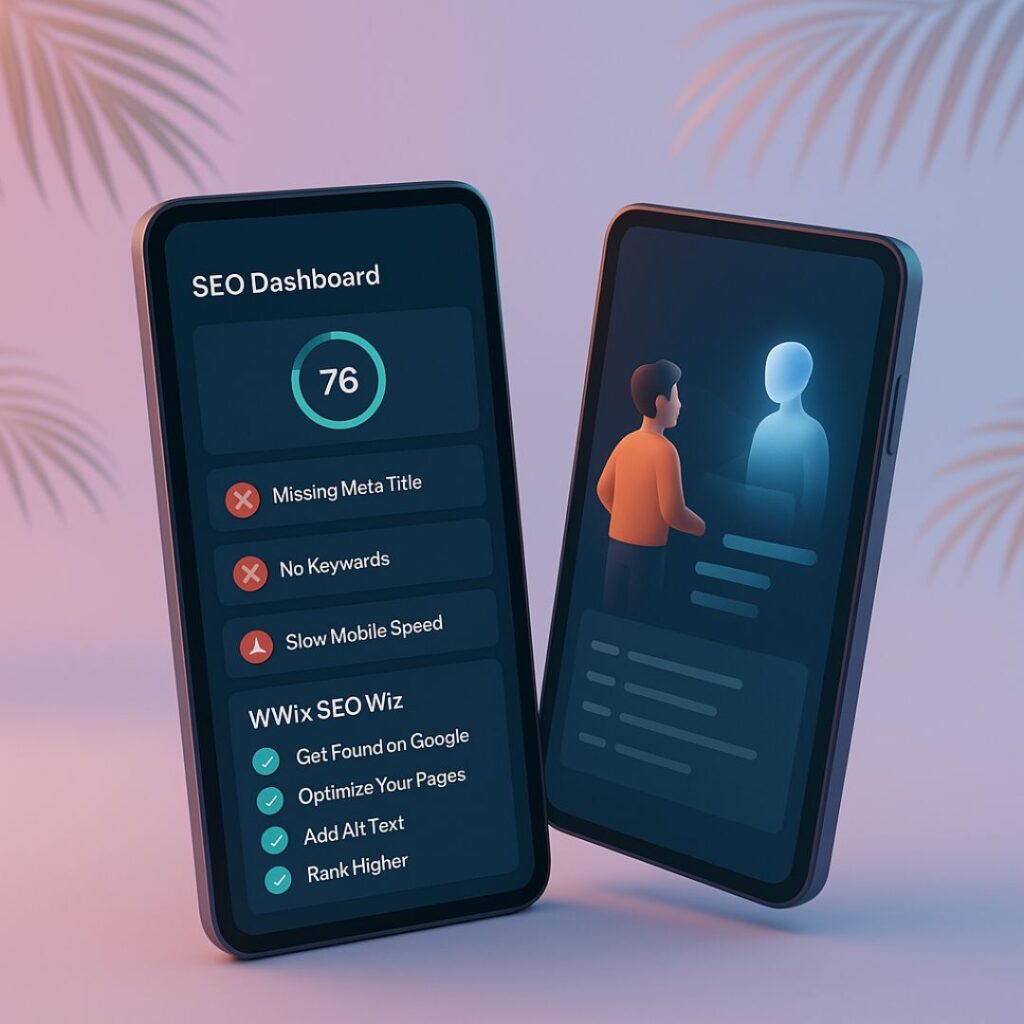
Identifying SEO Errors and Fixing Them Fast
Broken pages? Mobile usability issues? GSC gives you red flags while Wix SEO Wiz helps you fix them.
 Features Breakdown: Wix SEO Wiz vs. Google Search Console
| Feature | Wix SEO Wiz | Google Search Console |
|---|---|---|
| Keyword Suggestions |  |  |
| SEO Plan Checklist | | |
| Indexing Data | | |
| Sitemap Submission | | |
| Error Reporting | | |
| Integration Ease | | |
 Practical Tips for Small Businesses in the U.S.
Using the Combo to Rank Locally
Add location keywords (e.g., “plumber in Dallas”)
Use Google Business Profile linked with GSC
Leveraging Data to Improve CTR and Rankings
Optimize meta titles based on GSC CTR data
Use high-click but low-conversion keywords for content updates
Common Mistakes to Avoid
Over-Optimizing or Ignoring Data
Don’t stuff keywords. Let the data from GSC guide natural changes.
Not Submitting Sitemaps
No sitemap = slower indexing = missed opportunities.
Best Practices for SEO with Wix + GSC
Structured Data
Use Wix’s built-in schema markup to enhance search listings with rich results.
Mobile Optimization
Make sure your site is responsive and fast—Google prioritizes mobile usability.
Page Speed Tips
Compress images
Use Wix’s built-in caching tools
Avoid unnecessary apps
Monitoring Success: What to Track Weekly
Performance Reports
Monitor clicks, impressions, and average position.
Index Coverage
Make sure all your key pages are indexed.
Search Queries and CTR
What are people searching? Are they clicking your listing?
 Wix SEO Wiz + GSC for E-Commerce Sites
Product Page SEO Tips
Use long-tail keywords in product descriptions
Add alt text to every image
Google Shopping Integrations
Use structured data to feed product info to Google Shopping for more exposure.
 Future-Proofing Your SEO Strategy
Staying Ahead of Algorithm Changes
Use GSC alerts to identify traffic drops and pivot fast.
AI and Automation with Wix SEO Tools
Wix is adding AI-driven features—use them to create meta titles, descriptions, and even blog content automatically.


 Why Wix SEO Wiz is Perfect for Small Business Owners
 Wix SEO Wiz vs Traditional SEO Tools
 Setting Up Wix SEO Wiz
 Real Benefits for USA-Based Companies
 LSI Keywords to Use with Wix SEO Wiz
 Long-Tail vs Short-Tail Keywords for U.S. Brands
 On-Page SEO Features in Wix Studio
 SEO Wiz & Mobile-First Indexing
 Common SEO Mistakes to Avoid